Avoid Real Estate Closing Delays by Tackling Inspection Issues Early
By Guest Contributor: Natalie JonesMay 22, 2026
Need to learn how to avoid delays when closing on real estate by tackling inspection issues early? Use this guide for a seamless process!
For first-time homebuyers trying to lock in move-in dates
and home sellers balancing showings, work, and a next-step plan, home
inspection delays can feel like the moment everything starts slipping. The
inspection contingency period is short, and even common inspection issues can
trigger follow-up visits, paperwork pileups, and tense back-and-forth that
slows the real estate closing process. What makes it so frustrating is that the
problems aren't always huge, just unclear, poorly documented, or suddenly urgent
when deadlines are already tight. A clearer view of what typically derails
deals helps home sellers and buyers stay calm, protect timelines, and keep the
closing moving.
Quick Summary: Avoid Inspection Delays
·
Watch for early warning signs so repair
surprises do not stall your closing.
·
Expect inspection findings to trigger
negotiation stall factors like credit requests, rechecks, and contractor
scheduling.
·
Focus first on common home inspection problems
that impact safety, function, or lender requirements.
·
Choose fast home repair solutions that are
realistic to complete before deadlines.
·
Communicate repair plans and timelines clearly
to keep inspection-related closing delays to a minimum.
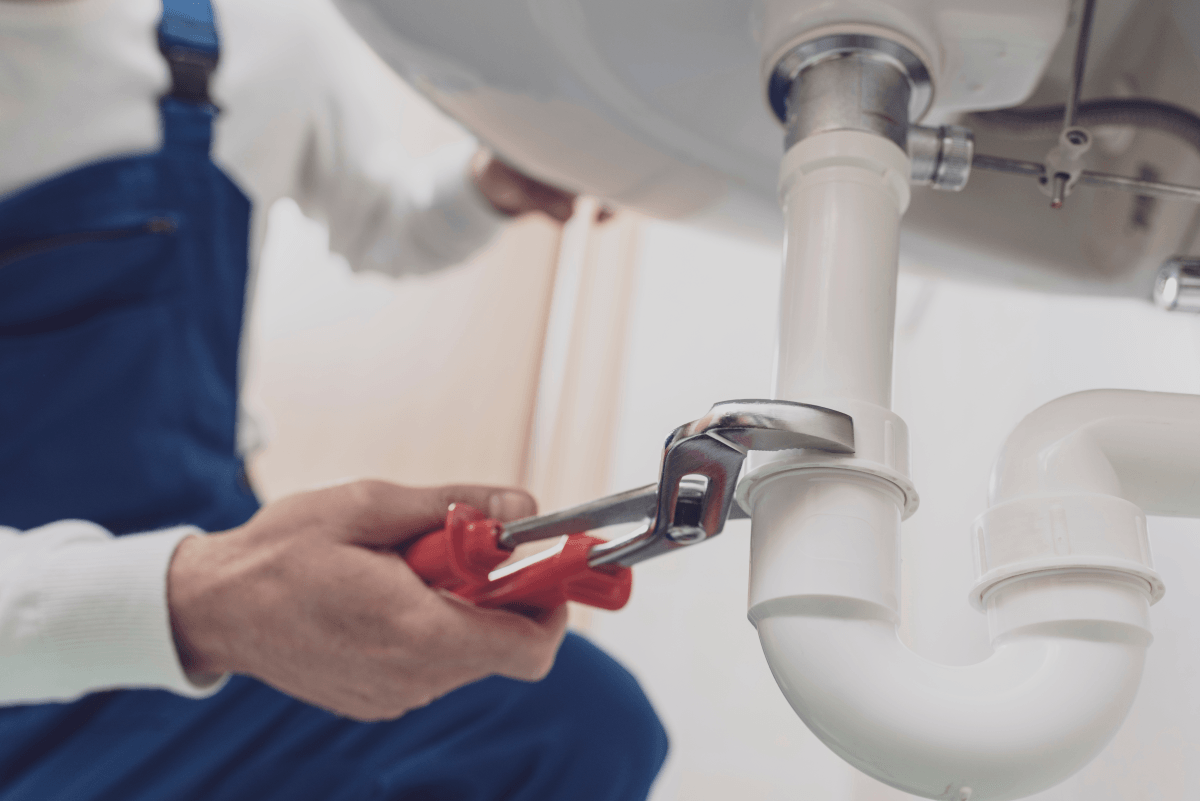
Stop Plumbing Surprises: Handle 4 Pre-Listing Fixes Now
Before you list, knock out the usual suspects: active leaks,
corroded pipes, worn shutoff valves that won't fully close, and tired fixtures
that drip or don't function smoothly. Any of these can read as a maintenance
red flag on the report, and that can slow negotiations or, in some cases,
trigger extra lender questions if there's concern about ongoing water damage or
system condition. The fastest path is to make the repair, then keep proof:
invoices, receipts, and any notes from the plumber (or the parts list, if you
handled a straightforward swap) so buyers and agents can confirm it's been
addressed without back-and-forth.
When you're replacing parts, sourcing matters. Stick with a
reputable supplier so you're getting professional-grade components that fit
correctly and won't fail right after the inspection; having dependable plumbing fixtures
available online can also cut days off the timeline when you're trying to
button things up quickly.
Build a Pre-Inspection Game Plan With a One-Page Checklist
A little pre-inspection preparation can save you days of
back-and-forth later. The goal is simple: spot the "closing killers"
early, fix what you can fast, and make everything easy for an inspector (and a
buyer) to verify.
1.
Turn your checklist into a one-page
"risk scan": Print a simple home inspection checklist and do a
room-by-room walk-through with a pen, not in your head. I like to flag each
item as OK / Monitor / Fix Now, which is basically checklist analysis in plain
English, use a list to identify and manage risk before someone else finds it.
This works because it forces you to look for patterns (like repeated water
staining) instead of random one-off issues.
2.
Do a 30-minute "access and safety"
sweep before anything else: Inspectors lose time when they can't reach key
areas, so clear paths to the electrical panel, water heater, attic access,
crawl space, and under-sink cabinets. Make sure lights work in utility areas,
unlock gates, and put pets away. A fast way to think about it is to assess the
physical environment for site access, cleanliness, and potential hazards, your
home isn't a jobsite, but the idea is the same.
3.
Use "leak clues" to prioritize
plumbing (because it snowballs fast): Building on those plumbing
pre-listing fixes, don't just look for dripping, look for clues: warped cabinet
bottoms, musty smells, rust rings on shutoff valves, or mineral crust on supply
lines. Run every faucet for 60 seconds, flush every toilet once, and then check
underneath immediately. If you find one weak shutoff or corroded line, assume
its "twin" nearby may be next and plan parts/orders together.
4.
Collect proof while you fix: receipts,
photos, and dates: Every repair you make should leave a paper trail: take a
before/after photo, save receipts, and write the date on a sticky note in the
photo if you can. This prevents inspection delays because buyers and agents can
verify what changed without reopening negotiations. It also helps later if a
lender or underwriter asks for details on repairs.
5.
Pre-draft your "repair menu" with
three lanes: Create a mini plan with DIY today, licensed pro, and defer
with disclosure. Include rough timing (same day, 48 hours, one week) so you're
not guessing under deadline. This is where you decide, for example, to replace
a tired fixture now, call a pro for anything permit-related, and disclose
cosmetic wear without promising a fix.
6.
Set expectations early with buyer-seller
communication: Before the inspector arrives, share what you've already
repaired, what's scheduled, and what areas have known limitations (like a
blocked attic hatch you'll clear). Ask the buyer's side what their
"must-have" safety items are so you can tackle those first. Clear
buyer-seller communication keeps the inspection from turning into a
surprise-driven renegotiation and makes decision-making faster when the report
drops.
Scan → Fix →
Verify → Clear to Close
To keep the closing schedule intact, you need a rhythm that
connects the inspection report to negotiation and the lender approval process.
I use this loop to reduce decision lag: every issue gets a clear owner, a
deadline, and easy-to-check proof.
|
Stage |
Action |
Goal |
|
Map the
timeline |
Note
inspection date, repair window, response deadline, lender milestones |
Everyone
works from the same calendar |
|
Triage the
findings |
Mark items
safety, water, electrical, roof, HVAC, cosmetic |
Fix the
highest risk items first |
|
Assign and
schedule |
Choose
DIY, hire licensed pro, order parts, book recheck |
No waiting
on “who is doing what” |
|
Document
as you go |
Save
receipts, permits, photos, and completion dates in one folder |
Fast
verification without extra negotiations |
|
Communicate
and confirm |
Send
updates, answer questions, and request sign-off or reinspection |
Shorter
back-and-forth and fewer surprises |
This flow works because each step feeds the next: triage
tells you what to schedule, documentation supports your update, and
confirmation closes the loop. With lenders often aiming for 30-32
days, small delays can compound quickly.
Keep Closings on Track After Home Inspection Surprises
Home inspections have a way of surfacing issues at the worst
possible moment, and that's when closing schedule management can start to feel
like a juggling act. The steady approach is simple: focus on inspection
challenge resolution first, keep decisions and paperwork moving, and treat the
importance of documentation as part of the fix, not an afterthought, using
proactive seller and buyer tactics to keep everyone aligned. When that happens,
lenders and attorneys get what they need faster, negotiations cool down, and
timelines stop slipping. Fix the right problems fast, document everything, and
closing stops feeling like a guessing game. Set aside 20 minutes today to
organize receipts, permits, and notes, then do one post-inspection follow-up
with the other side. That little bit of structure protects your time, your
budget, and your peace of mind.